
With Leatherback,
Money Moves With You.
Wherever you go, we got you.
200k+ downloads
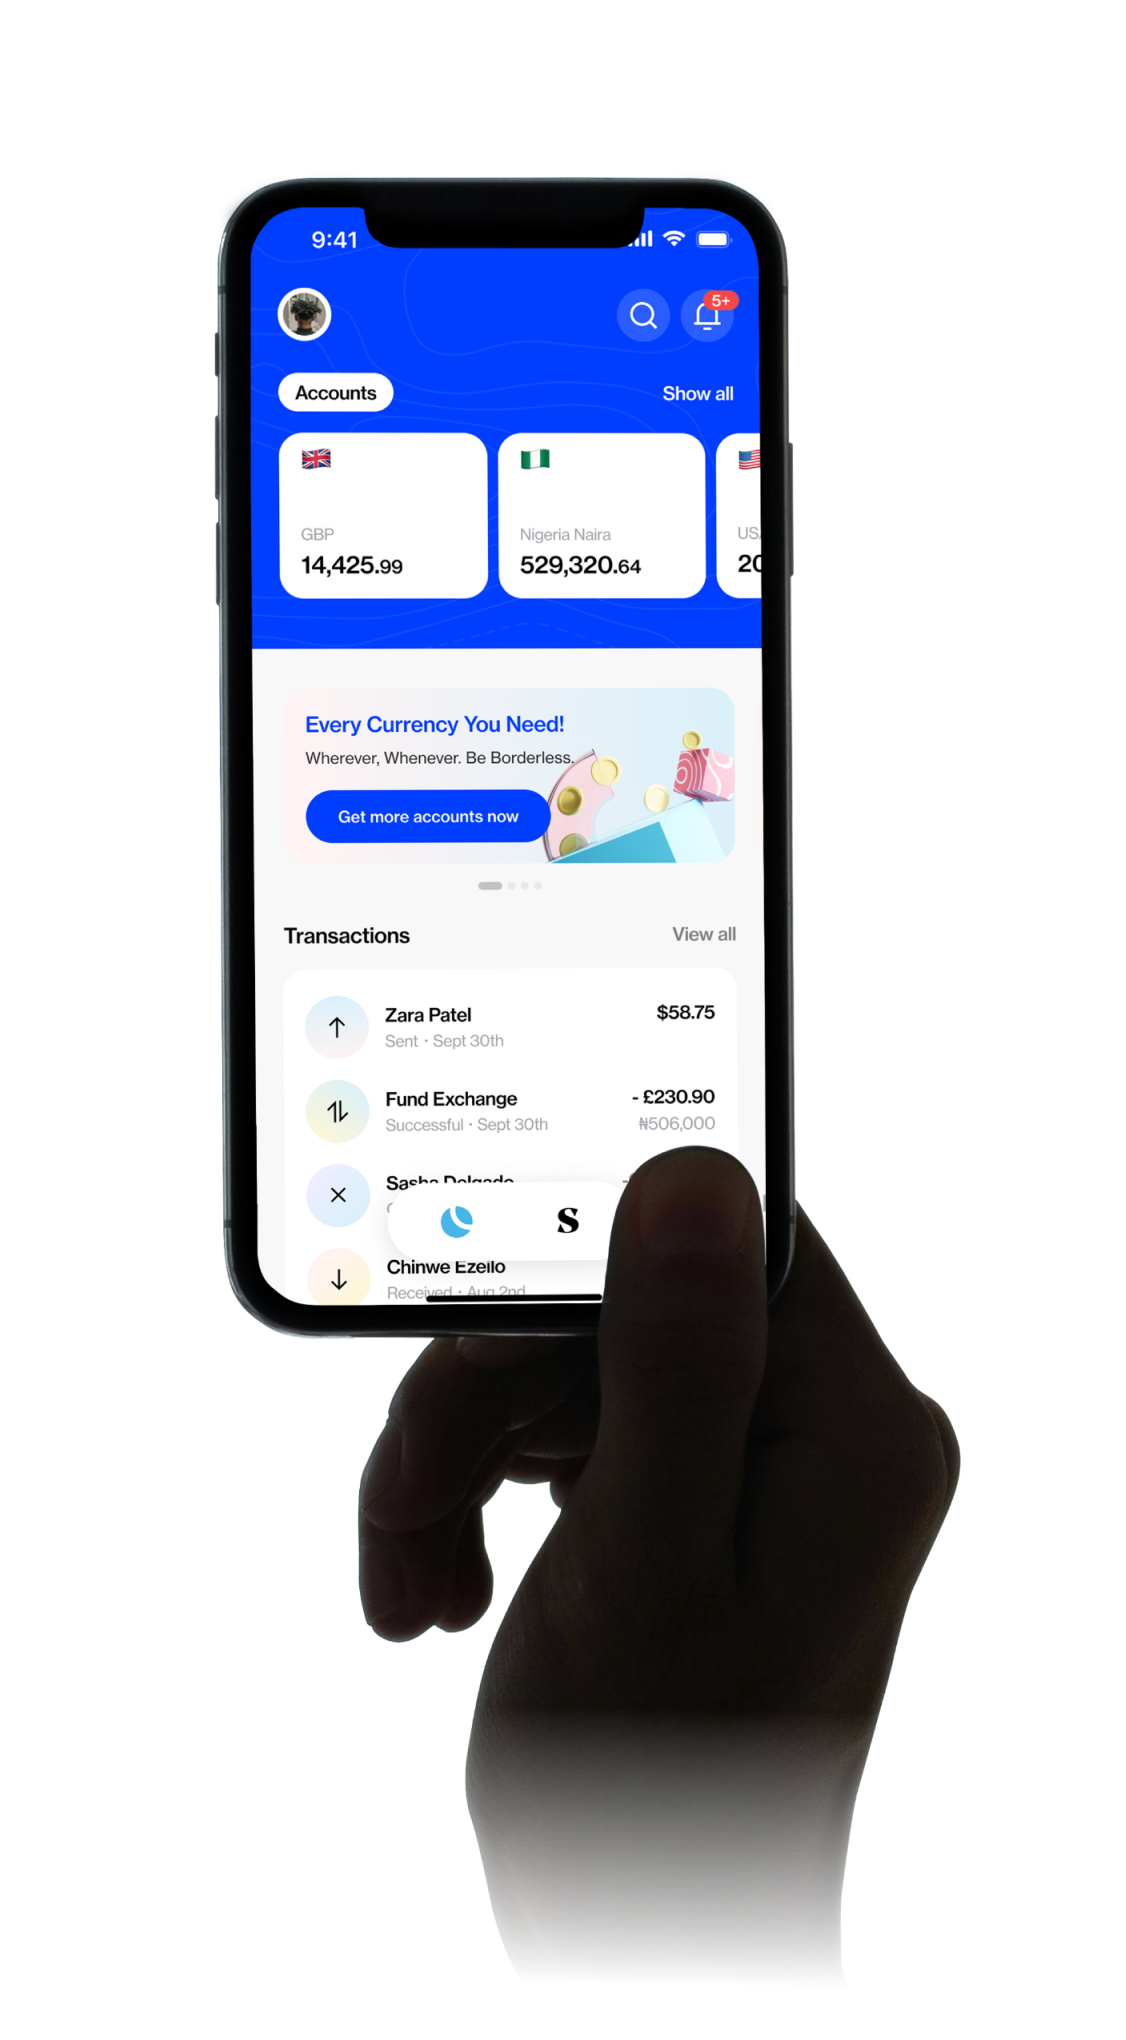


One App, Every Currency
Built for everyone who wants flexibility with their money


Get paid by anyone, anywhere
Your accounts are global - open to everyone, making it convenient to get paid, wherever you are.

Make local transfers on the go
Whatever you're spending on, we've got you covered with just a few clicks.
Perfume
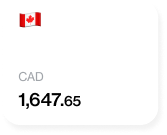
Debit · Personal276.00 CAD
Groceries
Debit · Food40.45 USD
House Rent
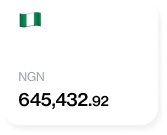
Debit · Successful1,750,000.00 NGN
Family Dinner
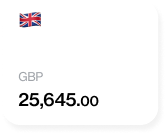
Debit67.00 GBP
Make borderless payments with ease
Send money to anyone abroad in your local currency without the hassle of currency conversions - we offer the best rates around.
Vacation 🏝️
Send
Invest
Vacation to Toronto
GBP 5,880.00
CAD 10,545.19
Exchange currencies
Effortless currency swaps, just a tap away
Currency Exchange
Enter amount

NGN

You'll get

GBP
Transaction Fee
NGN 0.00
Exchange Rate
fetching updated rate...
Your Money Moves With Ease
Get account in pounds, dollars, naira, and more, all from one app
Why choose Leatherback?

Safety and Security
Our ISO certification and PCI DSS compliance affirm our commitment to the highest security standards. With 2FA authentication and a dedicated fraud and security team, we safeguard your funds at every step with established financial institutions, providing you with peace of mind and confidence in our services.
Global Partners
Leatherback works hand-in-hand with trusted financial institutions, keeping your money safe, so you can enjoy global connectivity with confidence. We do not lend out your money, so we are not covered by the FSCS.


Global Reach
You are free from the limits of location and time zones. We are in almost every country, acting as your global passport to the world’s currencies to explore the globe with ease.
24/7 Customer Support
You can reach us across multiple channels, in-app chat through your Leatherback account, our dedicated support email, and direct messages on social media.

Get started today, sign-up in minutes
Download the app to register

Verify your address to set up an account

Choose your country and verify your identity.

Request additional accounts and get them instantly - no waiting around!
